
A couple of months ago, I put a pond in… and then discovered bog filters.
That’s when I found Kev’s videos.
They were the best I came across — no nonsense, simple, detailed, and most importantly… affordable. I’m disabled and on a pension, so keeping costs down was essential.
I’m based in Perth’s southern coastal suburbs, and my backyard needed a bit of life.
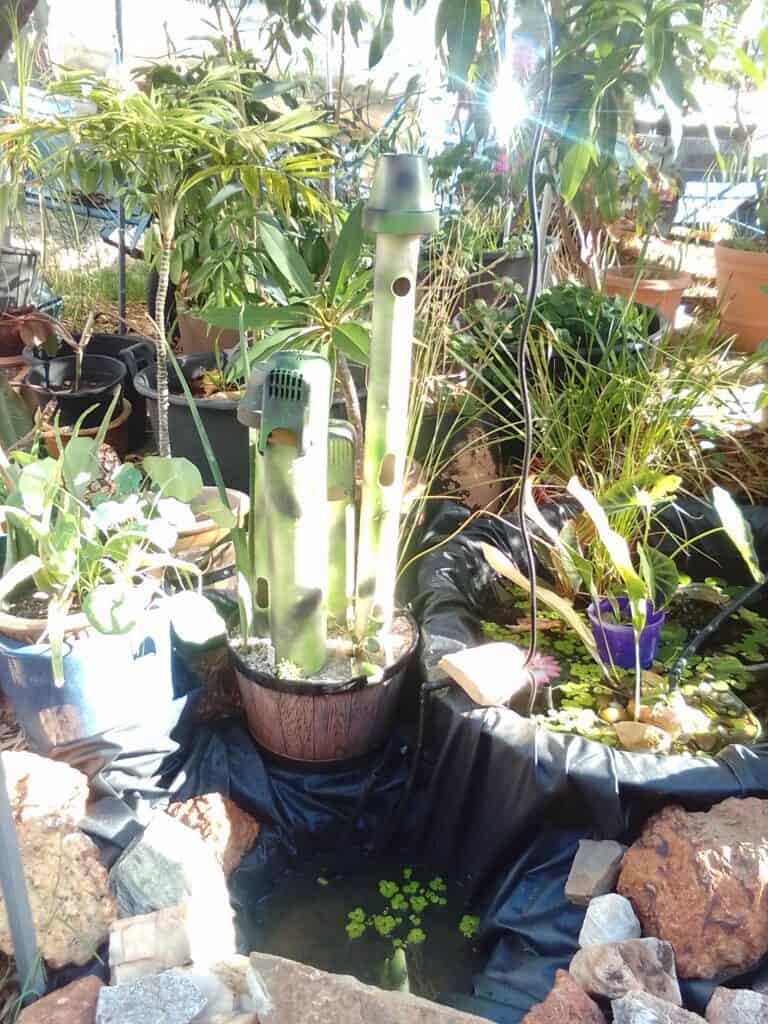
How it started
It all began with a couple of unexpected things:
- A solar fountain (gift from Mum)
- A small fibreglass pond liner (gift from a friend)
That was enough to get me started.
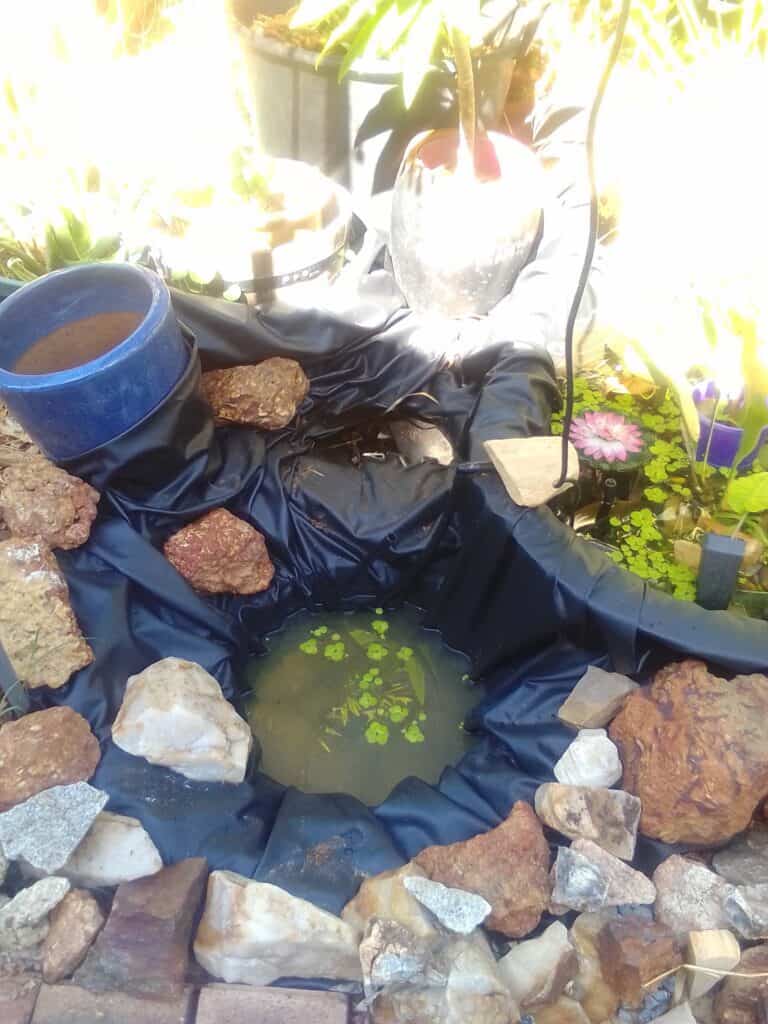
I dug the hole, added plants, and built a bog filter mostly from recycled and verge-side materials.
Apart from:
- A small pump
- A bulkhead outlet and seal
- A few irrigation fittings
Everything else was reclaimed.
The problems along the way
It wasn’t perfect.
- The solar fountain lasted two weeks
- I had a couple of mystery water losses
- At one point, the pond drained down to the pump level
I ended up adding a black liner over the fibreglass — problem solved… or so I thought.
It happened again.
Eventually, I worked out it was likely:
👉 Bog filter overflow blocked by frogbit
So I added extra overflow outlets.
The storm lesson
Then came a big storm.
I wasn’t ready.
Water levels rose quickly, and I had to scramble — diverting the pump into tubs just to stop the pond overflowing.
After that, I went back to Kev’s videos and built a simple overflow system using things I already had.
The turning point
Somewhere along the way, this project became more than just a pond.
Every morning now I:
- Check the water
- Sit by the pond
- Watch what’s happening
- Think about how to improve it
It’s helped me mentally, physically, and emotionally more than I expected.
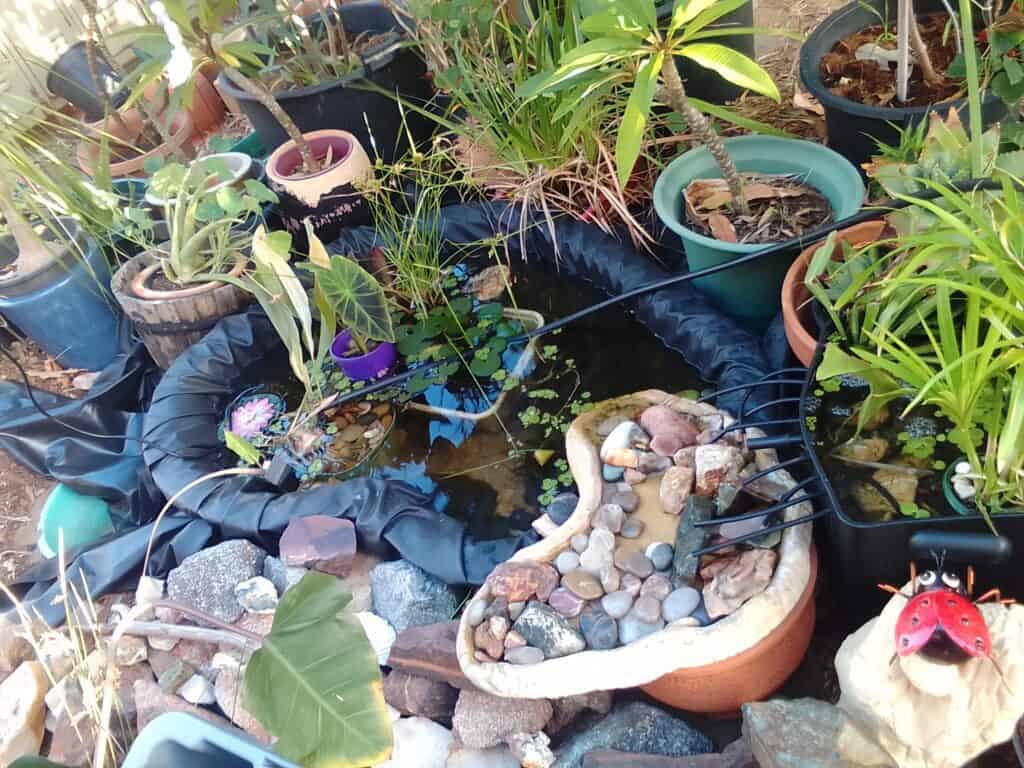
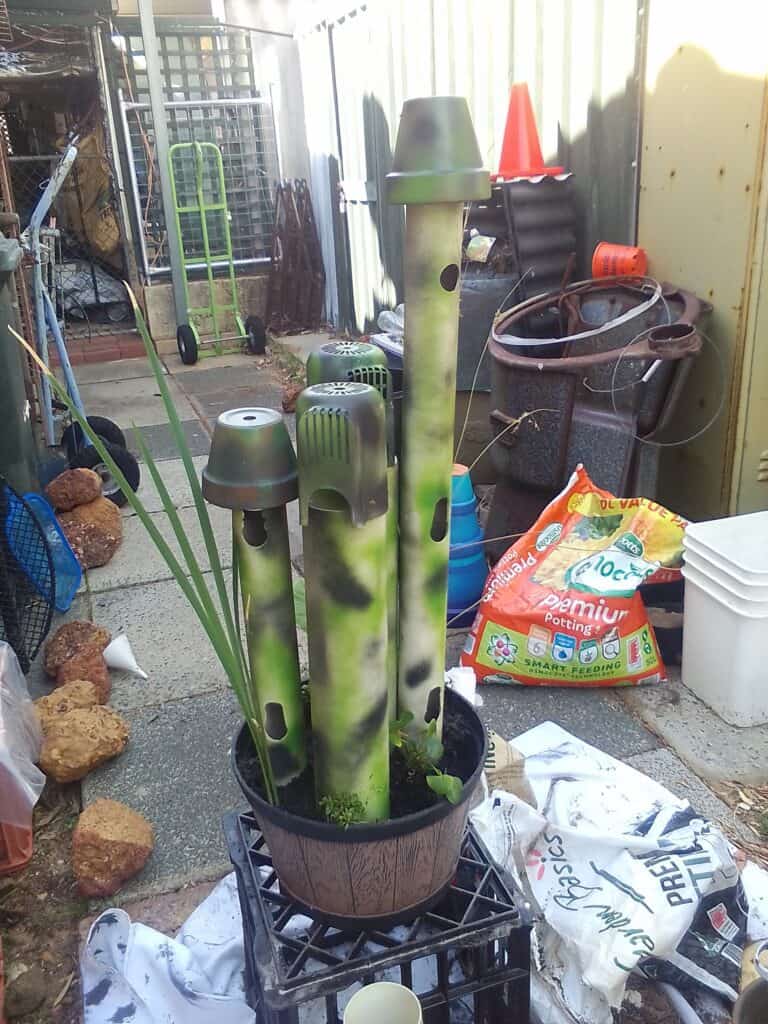
Stage 2 & 3 – Frog Pond + Frog Hotel
I decided to create a safe space for frogs, so I added:
- A frog pond extension
- A “frog hotel” built from spare materials
This time I bought:
- Native pond plants
- Aqua soil
- Pebbles
But most of it was still reused or gifted.
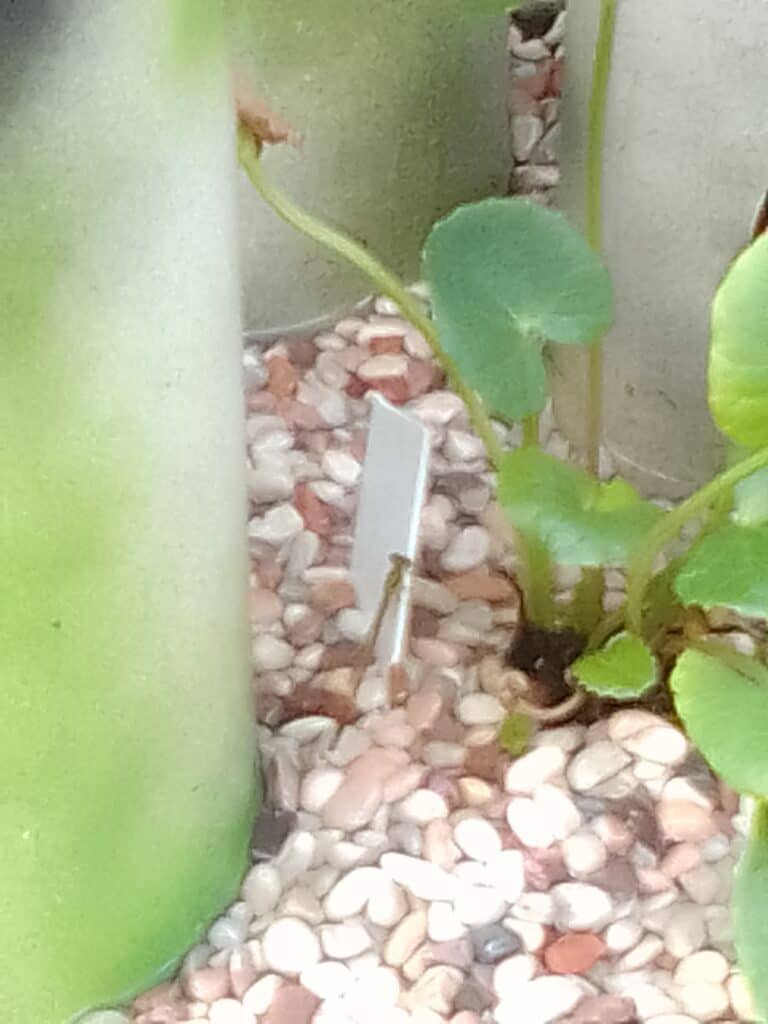
The moment I’ll never forget
Five days after finishing…
A dragonfly hatchling climbed out of the pebbles.
It made its way up a plant label, dried out, and flew off.
That moment hit me.
I created the space for that to happen.
Total cost
👉 Less than $200 AUD for everything:
- Fish pond
- Frog pond
- Frog hotel
Including the liner.
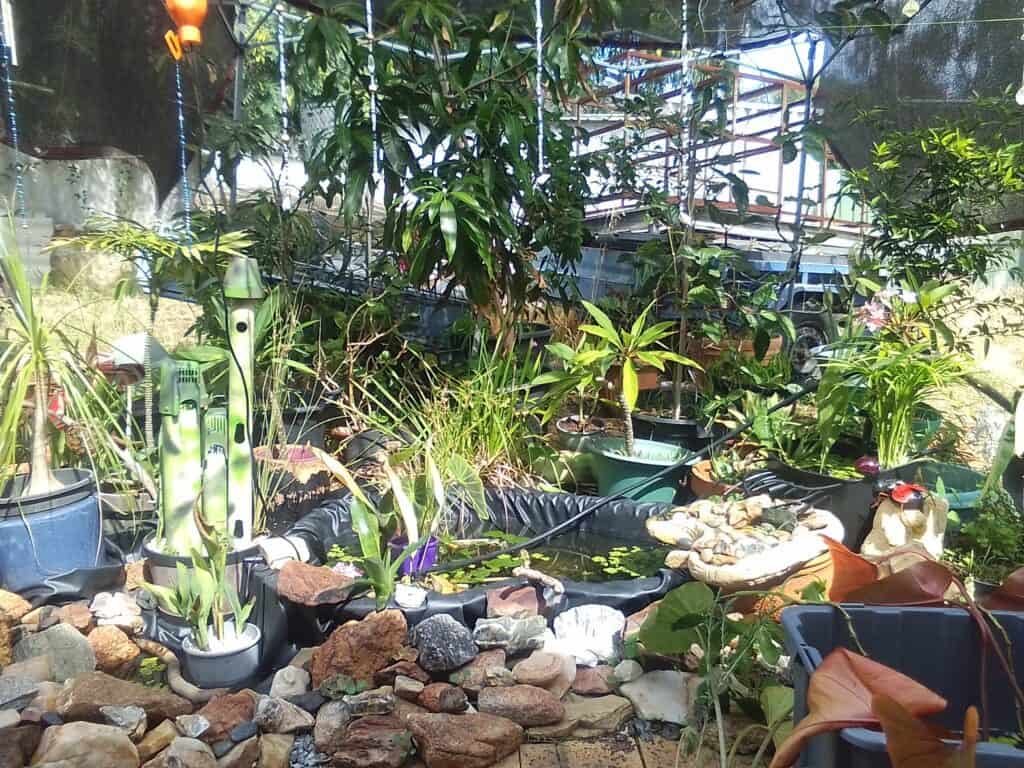
Final thoughts
This project has given me something I didn’t expect:
A calm, peaceful space that I built myself.
So thanks Kev — your videos and website helped make it happen.
– DJ
A Word from Kev
Every pond I build follows the same basic principles…
DJ didn’t copy my pond — she just applied the system in a way that worked for her space, budget, and what she had available.
That’s really what this is all about.
It’s not about copying someone else’s build — it’s about understanding how the pieces fit together so you can make it work for you.
And when you get it right… you don’t just end up with a pond — you end up with something you actually enjoy being around every day.
I also just want to say a big thanks to DJ for being so kind and generous in sharing her story and photos with the wider pond community — it really helps more people see what’s possible.
If you’ve built something you’re proud of, I’d love to see it.
You can share your pond here.

About to build a pond… or already have one?
Sign up for my email list and I’ll send you DIY-friendly pond tips, along with a few helpful tools like calculators, gear recommendations, and more.
