
As they say, water finds its own level, making it impossible to have an unlevel pond. Yet, questions about pond leveling come up frequently, especially during the digging stage.
In this post, I’ll share some tips to ensure your pond’s shelf levels are correct and discuss how to set the final water level and manage overflows. If you prefer you can watch the video below.
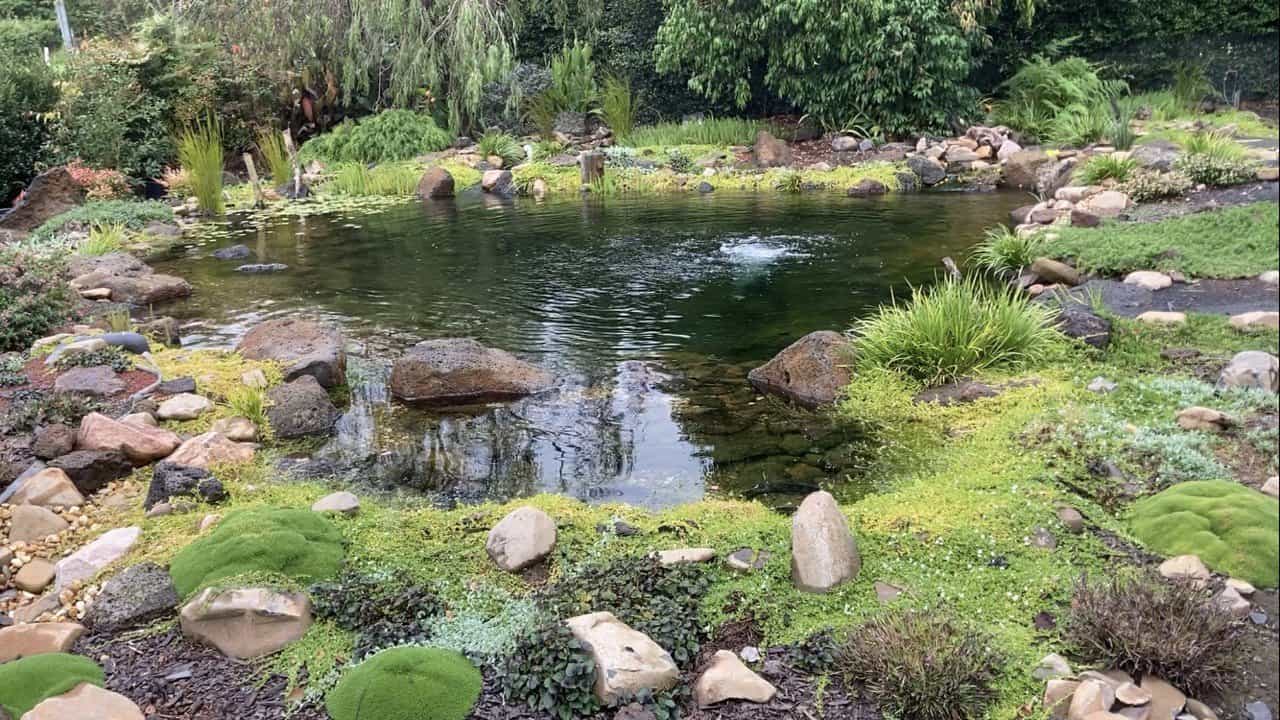
Most people face leveling issues when building an ecosystem-style pond.
This type of pond, my favorite, features different depths, rocks, pebbles, and plants, often lined with an EPDM liner to create a vibrant ecosystem.
If you’re building a straightforward fish pond with straight edges, no shelves, and no rocks, leveling is easier.
Simply dig the hole, place the liner, and fill it with water. Use the dirt from the hole to contour the surrounding area and set your final water level.
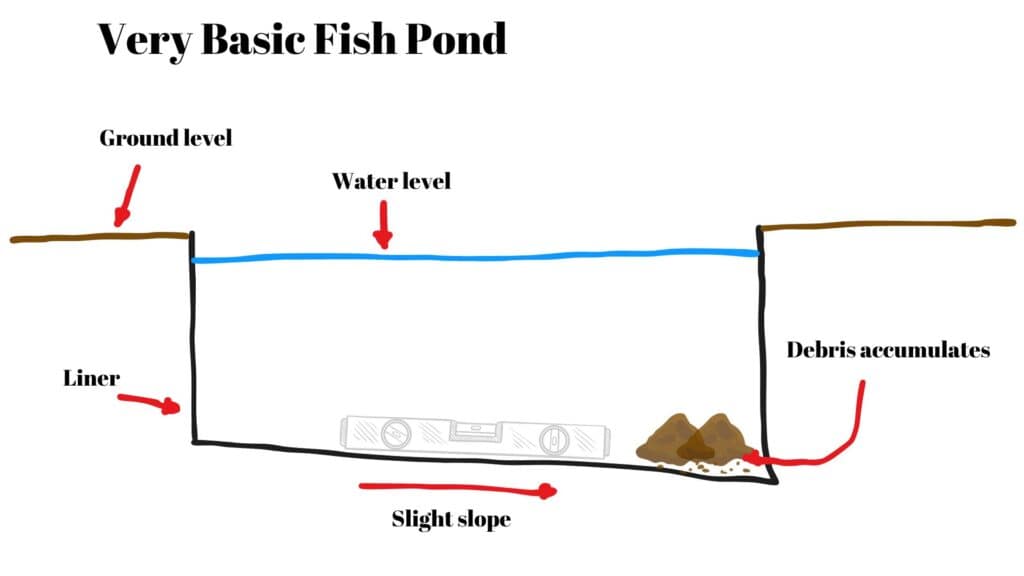
A spirit level can help ensure the base is level, or you might create a slight slope for sediment accumulation.
Here’s a video showing how I built a very simple goldfish pond-
Leveling Ponds with Shelves
When digging a pond with shelves, the process is similar but requires more attention to detail. Start by digging the first level, piling most of the excavated dirt on the lower side if the ground is sloped.
Use a spirit level to ensure the first shelf is level. Once the first shelf is level, dig down to the second shelf using the desired depth as a guide.
If your second shelf is 30 cm (about a foot) deeper, dig down another 30 cm around the pond, checking the level with a spirit level.
Repeat the process for additional shelves. I prefer having three different depths regardless of the pond’s overall depth, but this is a personal preference.
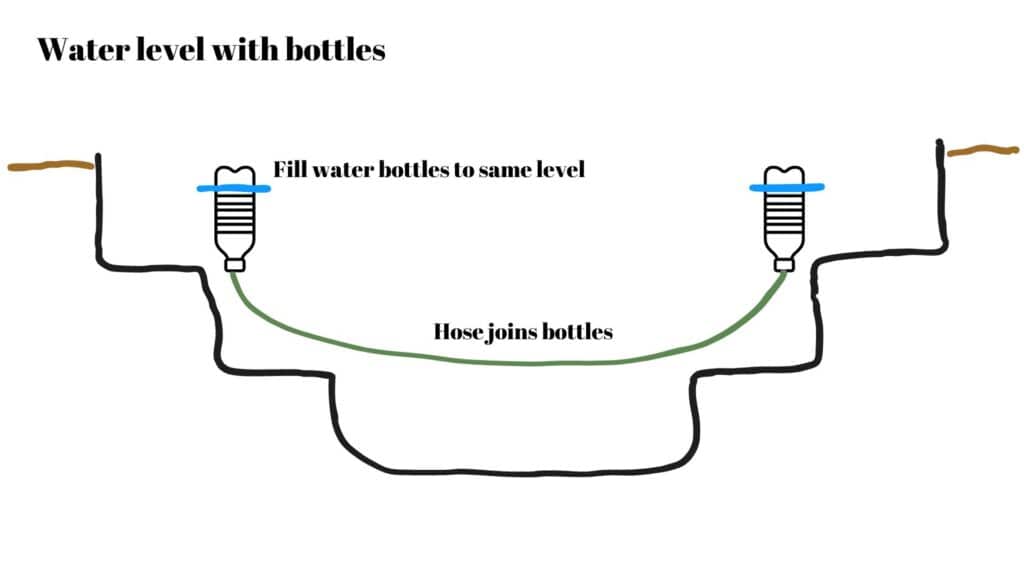
Before adding the liner and underlayment, fine-tune the shelves to ensure they are level. A level on a piece of straight timber, string lines, or a DIY water level (two bottles connected by a hose) can help check levels across the pond.
Final Water Level and Overflows
Set the final water level when the pond is nearly full. As you finish the pond’s edges, you’ll move a lot of dirt, which is an ideal time to finalize the water level. Have a rough idea of the final level based on your first shelf.
For large ponds, consider hiring or buying a laser or rotating level (Amazon link). It simplifies the process without significantly increasing costs.
While setting the final level, consider adding an overflow near the skimmer or intake bay. This area, where pumps are positioned, naturally draws water and debris.
An overflow acts as a natural water change, helping flush out surface debris. Create the overflow by positioning the liner lower in a designated area. Below is a video with more details on overflows if you’re interested.
The overflow sets the final pond level, so I prefer doing this when the pond is mostly full. Ensure the liner around the rest of the pond is 10-15 cm (about 6 inches) above the overflow point.
Larger rocks can help conceal a higher liner, while pebbles might require more effort and expense to hide the liner.
Final Thoughts
Excavating and levelling a pond is straightforward but a little attention to detail. I hope these tips help you build your dream pond. If you found this helpful, feel free to check out the rest of the content on the site and my Youtube channel.
Thanks for reading and watching! See ya!