
This is a how-to-guide of a budget fish pond i built in a weekend. It sits under our living room window. This fish pond holds approximately 1200 L (317 gallons).
After 12 months i needed to add a bog filter. This was cheap and easy to make. I’ve included a video showing how this was constructed.
Materials used
- 45mil epdm rubber pond liner. 4.5m (14’9″) X 3m (10′)
- 2 X 3.6m (12′) Treated pine plinth board.
- 2 X 2.4m (8′) Treated pine plinth board.
- Small ceramic pot/ jug.
- Ceramic noodles.
- 2m (6’8″) length of garden hose.
- 24volt (10watt) 700L (184 gallons)/Hr pond pump.
- Solar powered pond fountain 1200L (317 gallons).
- Rocks & pebbles.
- Plants.
Equipment needed
- Shovel.
- Spirit level.
- Some nails.
- A hammer.
- Drill.
- Diamond core drill bit 14mm or wide enough to fit the garden hose.
- Barbed fitting to connect garden hose to pot.
- Liquid nails to connect barbed fitting to ceramic pot.
- Some old plant pots.
Most of the equipment i already had. Some of the materials were purchased online or at local hardware store.
Digging the fish pond
The first task was to dig the pond. I wanted it to basically sit under the window in our living room. That way i can easily see the fish form inside the house.
I roughly marked out the area to be excavated using the shovel. The hole i ended up digging was 1.8m (6′) long by 1.2m (4′) wide. I went down to a depth of 60cm (2′).
While digging the hole i left a shallower shelf about 40cm (1’4″) along the widow side wall. This is so i could add in some marginal plants at a later date.
I also made a shallow trench through the middle of the pond running length ways. This will allow solids to congregate in this low spot. Then it’s just a matter of siphoning them out as needed.
I used the plinth board to make a frame around the hole. This made it very easy to get the water level perfect.
The dirt excavated from the pond i spread out to create a curved garden bed.
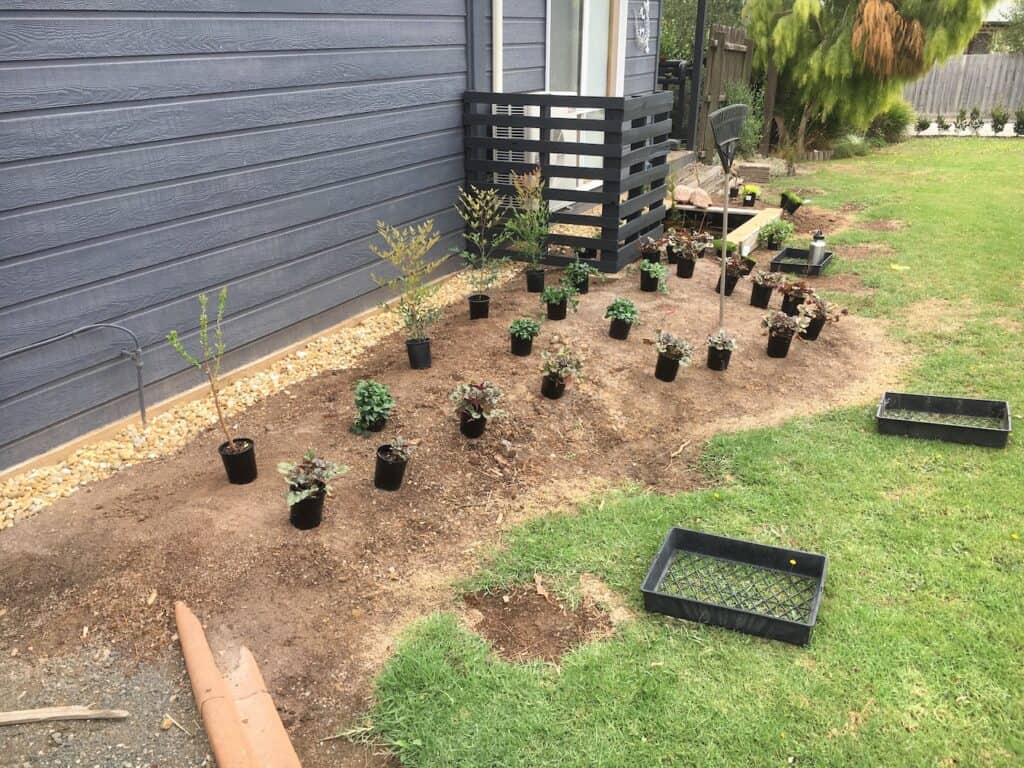
Curved garden bed with excess soil 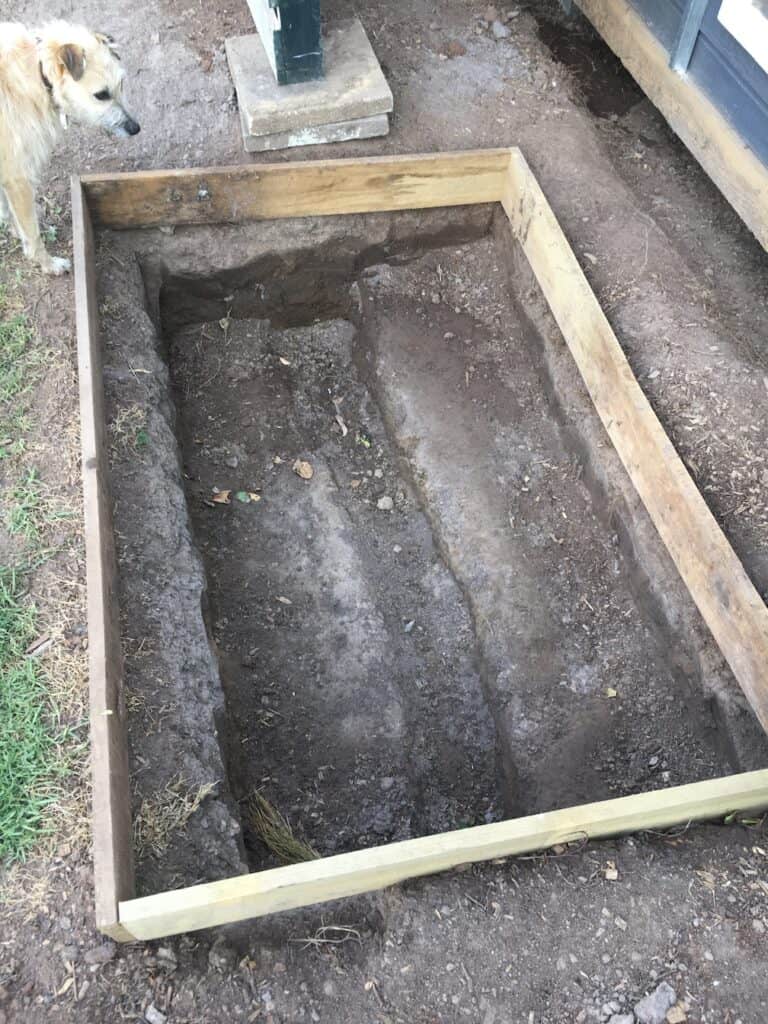
Framing the hole. Need to remove some soil from left hand side.
Installing the liner
The ground in this area was nice and soft and had no plant roots or rocks. For this reason i didn’t bother installing an underlayment.
Before installing the liner i made sure that the framing timbers were perfectly level and in the perfect position.
Next i simply rolled the pond liner out over the hole. I then started slowly filling with water.
As the pond was filling i folded in the liner at the corners. It’s not perfect and gave me some grief but in the end you won’t see the creases.
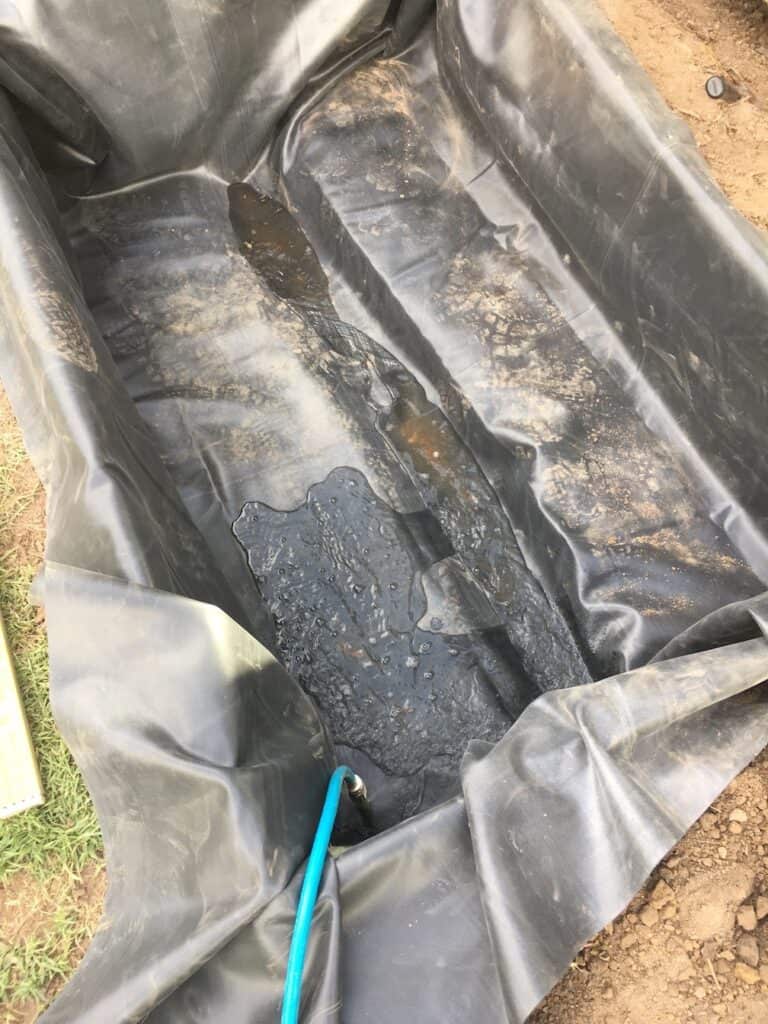
Filling up 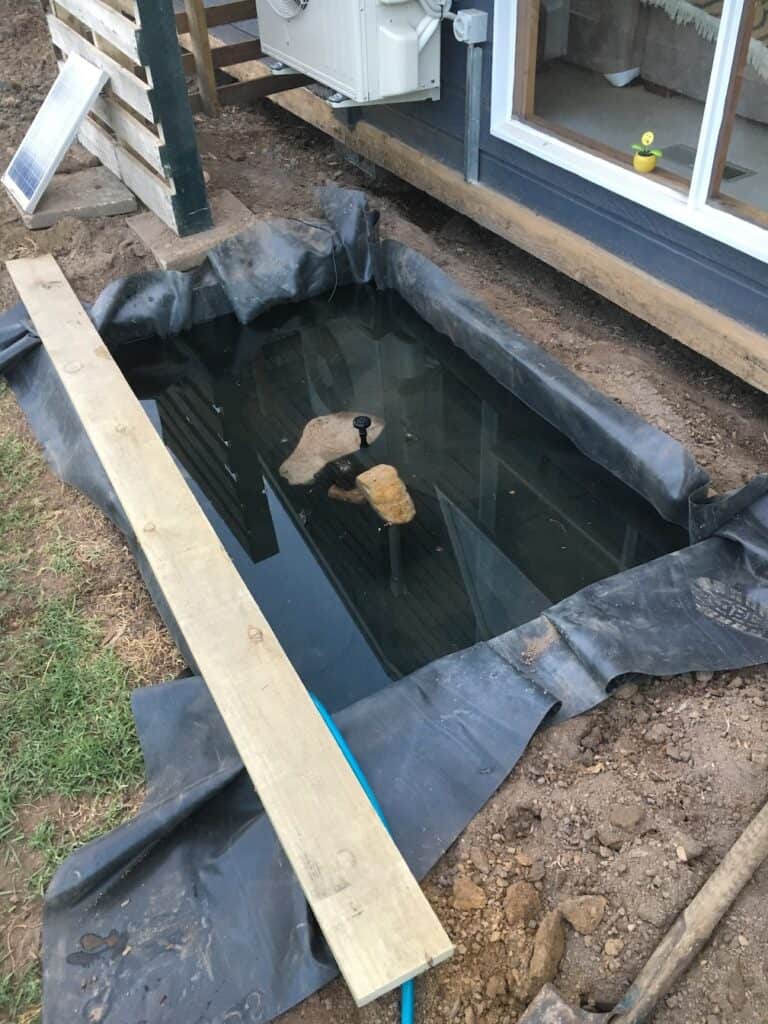
Adding the top boards
When the pond was 3/4 full i used the remaining plinth board to create a framing lid. This pinned the liner in place and gave a nice little overhang to hide the creases and the pump cords.
Connecting the pumps and filter
The solar fountain i wanted in the middle of the pond. I got an old plastic plant pot and placed the pump inside. I filled the pot with rocks and gravel.
This hides and protects the pump but mored importantly provides plenty of surface area for beneficial bacteria. These bacteria and micro-organisms are a critical component of the nitrogen cycle.
The nitrogen cycle is something every pond owner should understand and utilise for water health.
I then created a small waterfall/ Spillway coming out of the ceramic pot/jug i purchased. This was easy enough i drilled a hole (using the diamond coated core drill bit) and then attached a small barbed fitting to connect the garden hose.
Inside the pot i added the ceramic noodles i purchased. The ceramic noodles provide a large amount of surface area for more beneficial bacteria.
The resun king 24volt pump i positioned on the opposite side of the pond. This allows the water to circulate from the pot across the pond into the pump.
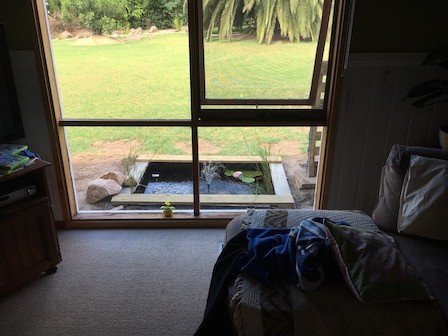
Checking the view from inside 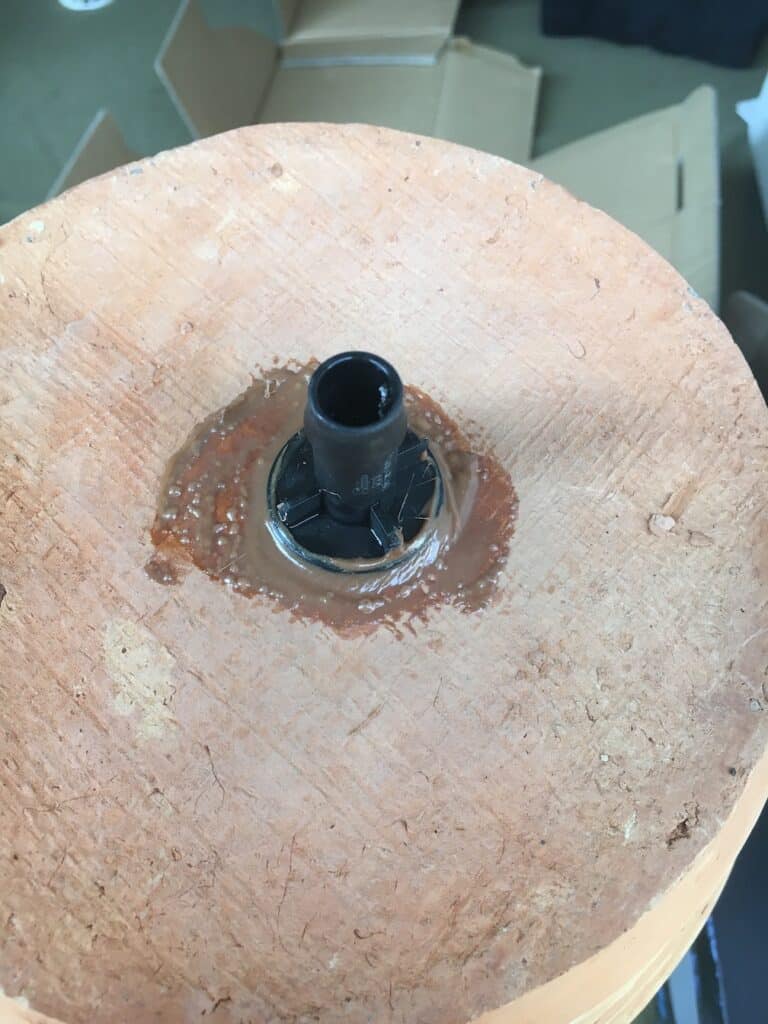
Barb fitting glued to pot 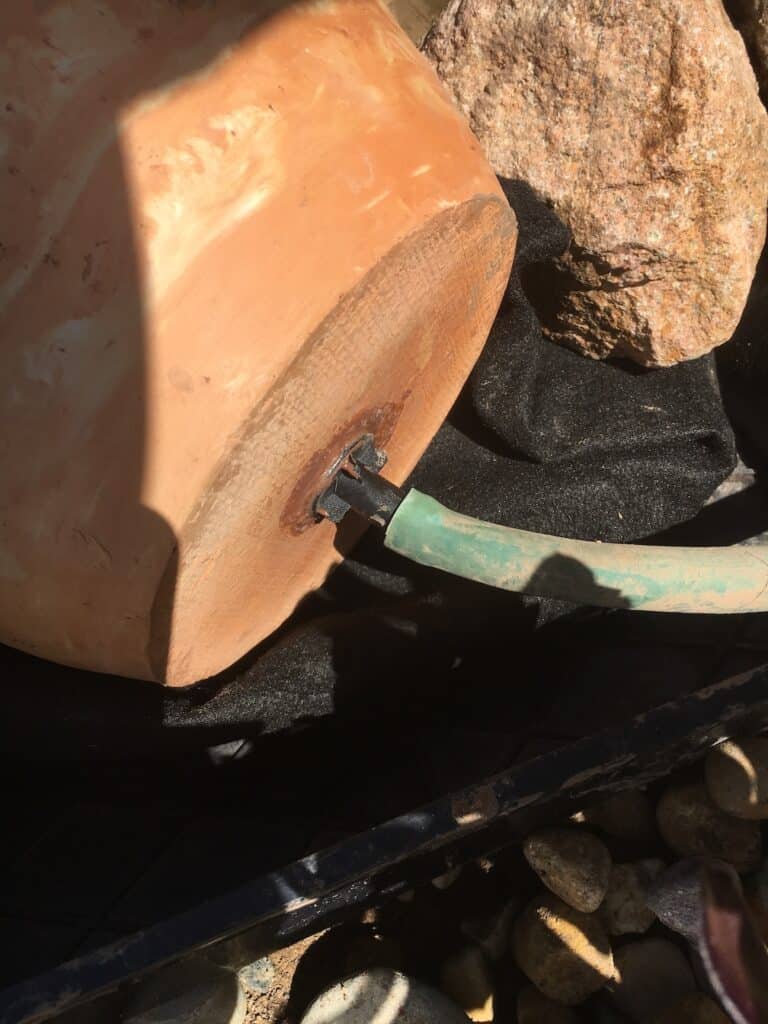
Connecting the pot to pump 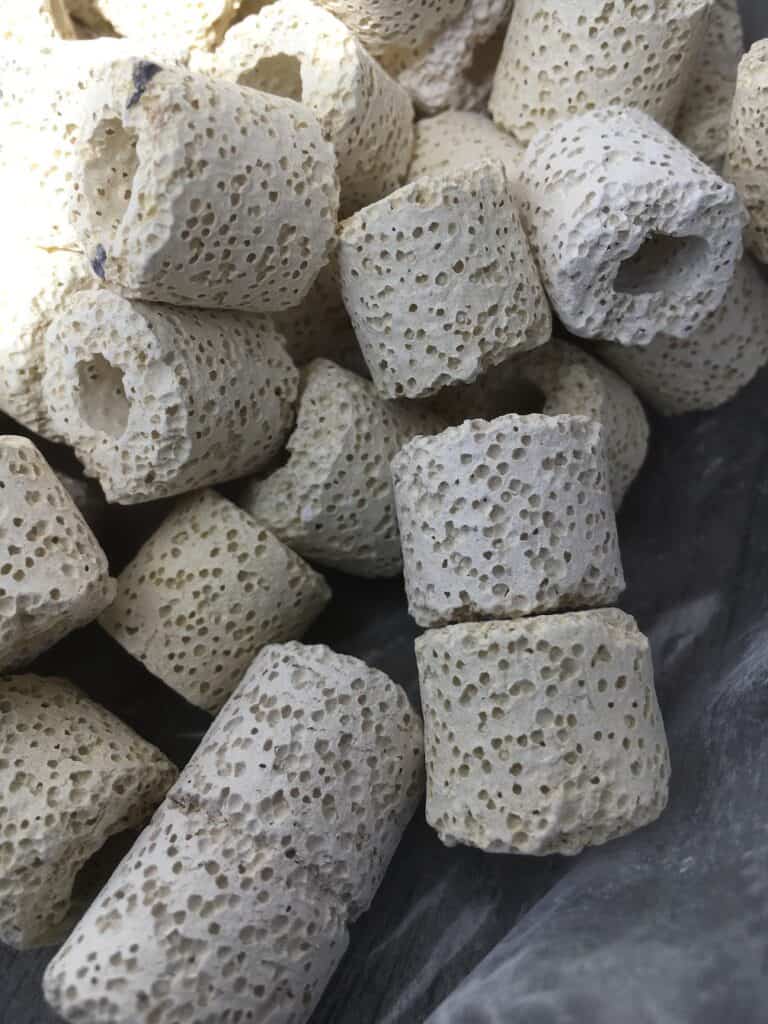
Ceramic noodles used in pot 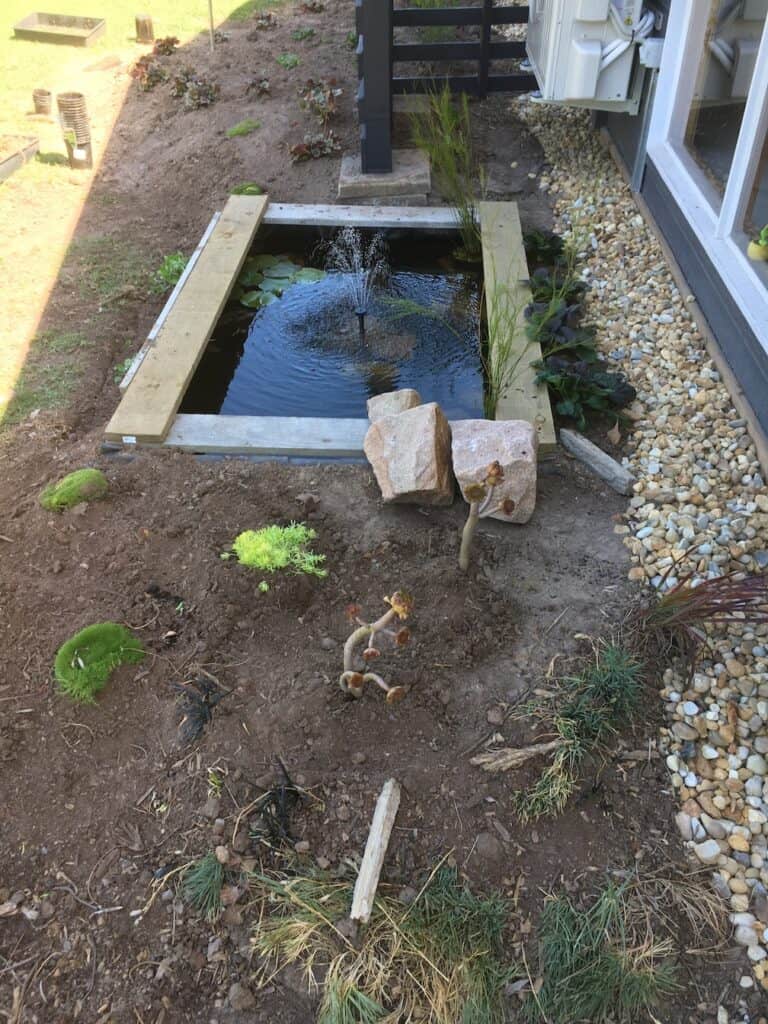
Adding some plants 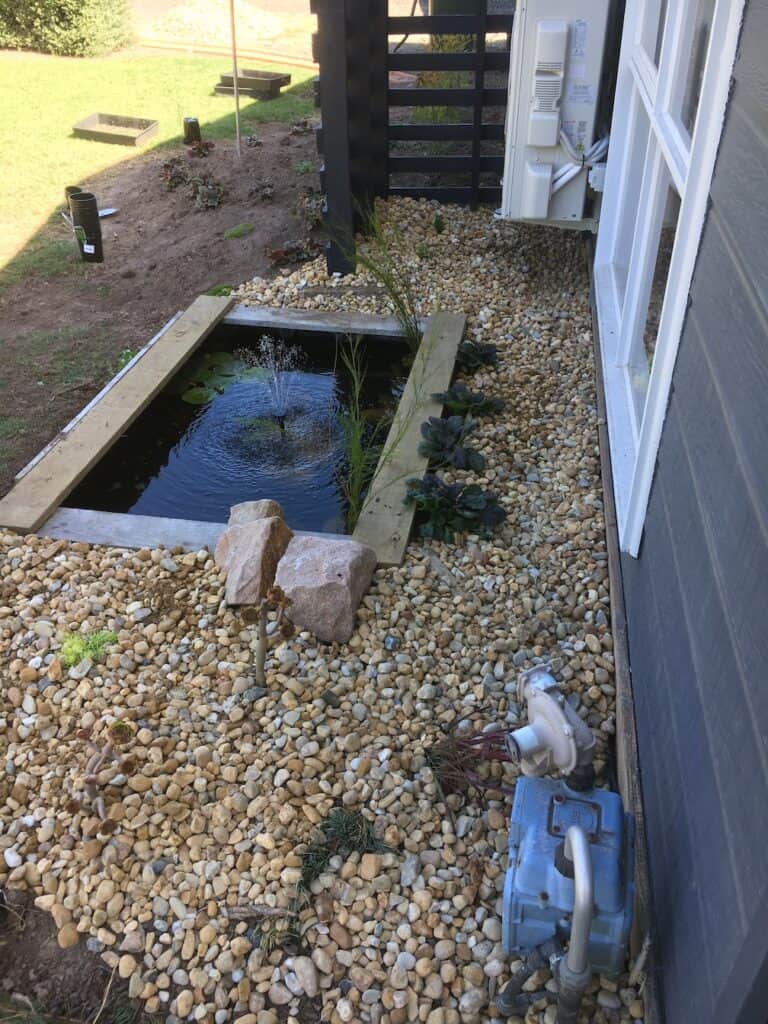
Adding some rock 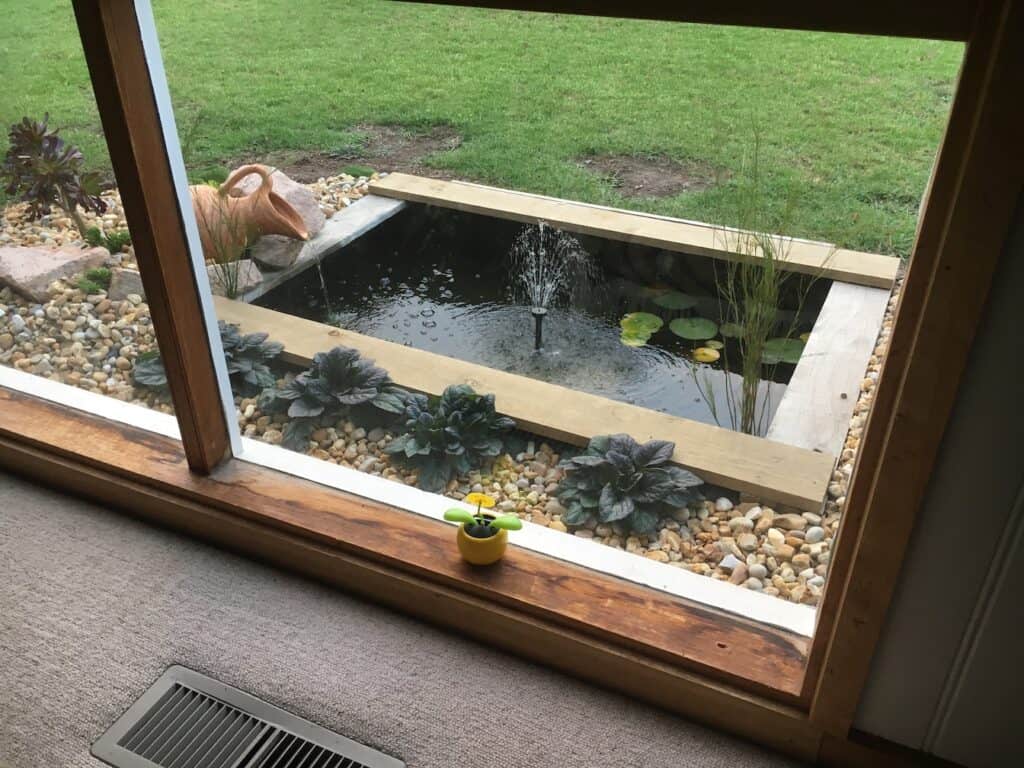
The finished view from inside
Adding plants
In the actual pond I’ve kept the planting very simple. I choose a pink hardy water lily for the top right hand corner. This lily came in a pot that you can put straight in the pond.
Beside the lily a placed another old pot on its side and covered with some rocks. This provides a nice safe haven for the fish if they feel threatened.
In the foreground corners i used Tassel cord rush (Baloskion tetraphllum). I love this plant its evergreen, has soft foliage and isn’t overly aggressive (as in it won’t take over the pond).
Ive also added a few pieces of Upright water milfoil (Myriophyllum crispatum). This is a fast growing plant so it can quickly process any excess nutrients that may cause algae growth.
These 3 plants are my favourite and easiest pond plants at the moment.
Both the tassel cord rush and upright water milfoil are Australian natives. Im in Australia and wherever possible i like to use native plants to provide habitats for the local animals.
In the garden area near the pond i used some succulents and sedums on the jug side. The foreground from inside has purple ajugas.
In the garden bed that is made up of the dirt from the hole, i have a feature japanese maple, some nandina’s at the back, green ajugas in the middle, heuchera’s in the front and some scleranthus on the corners.
Maintenance
As i write this the pond is 12 months old. So far i haven’t had to do any maintenance, apart from cutting back the water lily before winter. It’s a good idea to remove any decaying foliage to avoid excessive nutrient spikes.
From time to time i use my api water test kit to monitor the ammonia, nitrite and nitrate. So far everything is running perfect.
During the spring i will probably vacuum up any muck that has accumulated in the central low point i created for that purpose.
All up this budget fish pond cost me under $500 including all the landscaping. So far it’s given us so much joy watching the fish from the comfort of our lounge. For so little work and so much joy i wish i put it in years ago.
Update adding a bog filter
It wasn’t long after writing this original article that the pond started to turn green.
Pretty soon i couldn’t see my fish unless they came to the surface.
I knew that this was the ponds way of utilising all the ammonia, nitrite and nitrate in the pond.
So i needed to increase the biological filter. So i choose to create my own bog filter.
The results were excellent.
Below is a short video showing how i made it and added it to the pond.
If this has been helpful please subscribe.